Welcome to KnowHow Daily!
Practical guides, money-saving tips, tech solutions, government benefits, and useful information for everyday life.
Welcome to KnowHow Daily!
Practical guides, money-saving tips, tech solutions, government benefits, and useful information for everyday life.

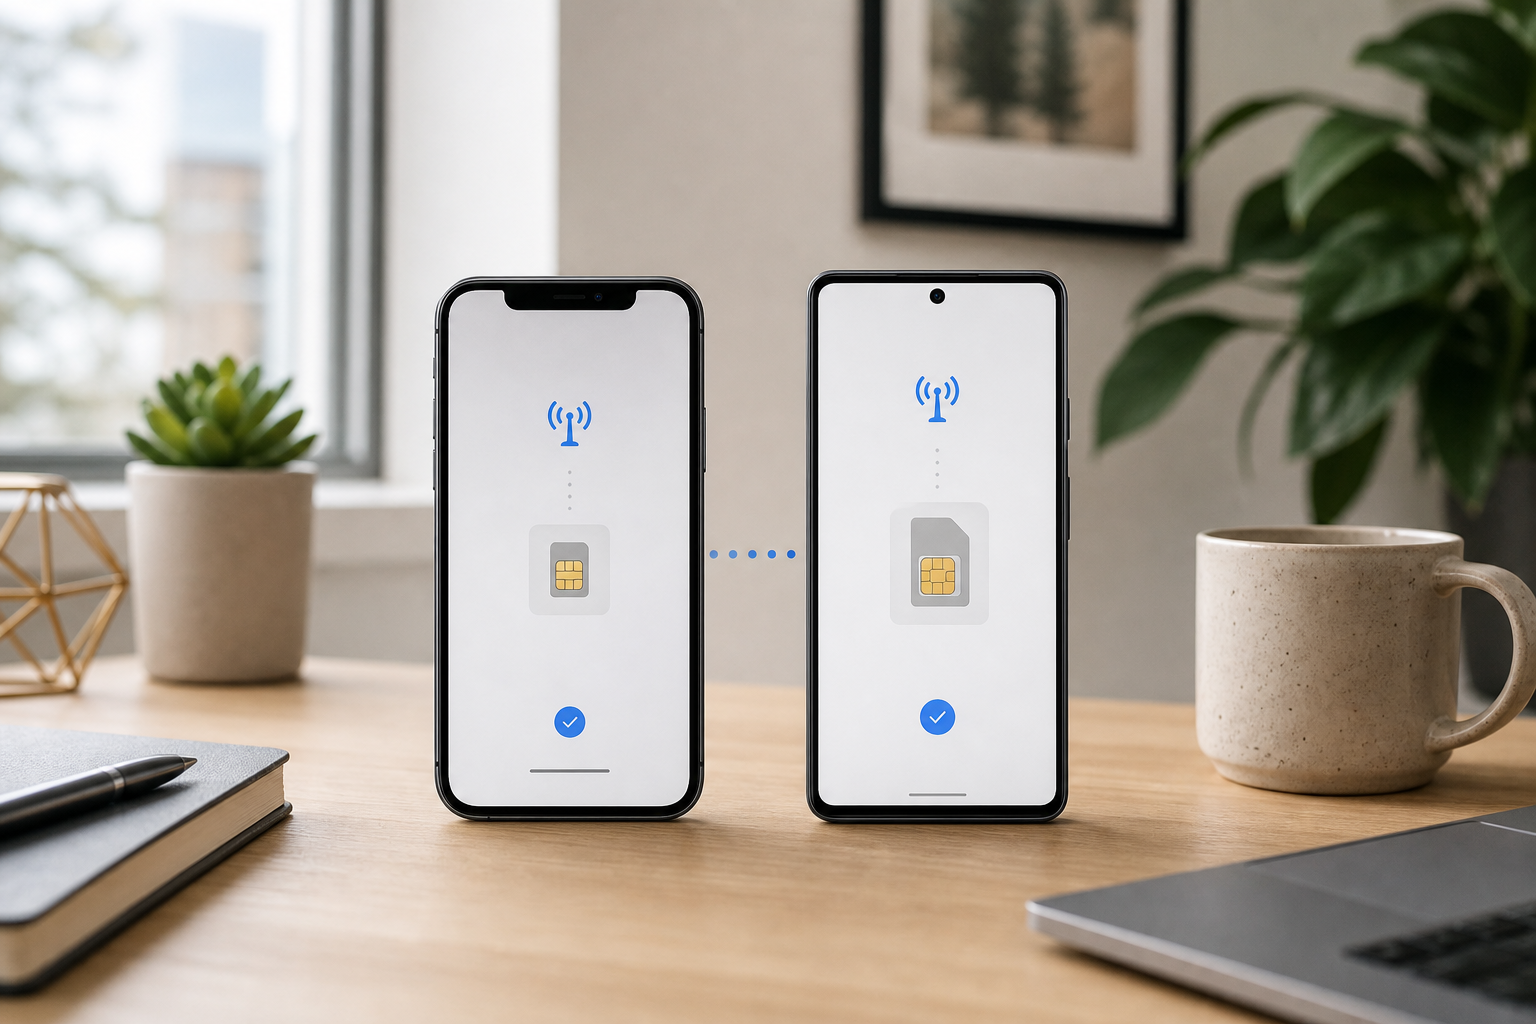
Learn how iPhone to Android eSIM transfer works in Canada, which carrier workflows are supported, when your old iPhone loses service, and how to fix QR-code failures.
Sometimes—but the answer depends on your carrier, Android phone, software versions, and the transfer method your carrier supports.
Apple now documents a built-in process for moving an iPhone eSIM and selected data to a compatible Android device. The process uses a QR code displayed on the Android phone, which you scan with the iPhone. However, Apple’s current iPhone-to-Android eSIM support list names carriers in the United States, Japan, Germany, France, and the United Kingdom—not Canadian carriers.
That means Canadian customers should not assume the generic Apple workflow will activate their phone number. The safer rule is simple: try the carrier-supported setup shown during Android activation, and use your carrier’s account tools or activation process if the direct transfer option does not appear.
Data transfer and eSIM transfer are separate decisions. You may be able to copy photos, contacts, messages, calendars, and other information even when your Canadian carrier requires a separate eSIM activation.
Keep both phones available until the new Android device is fully working. You’ll generally need:
Update both phones before trying again. Apple’s current transfer instructions refer to iOS 26.3 and a compatible Android 17 device for the built-in cross-platform transfer feature. Android manufacturers may use different requirements for their own setup tools, so the exact Android version can vary.
Most importantly, do not delete the eSIM from the iPhone first. Some carriers send a verification text to the old device, and deleting the eSIM too early can make account recovery more difficult.
If your carrier and Android phone support Apple’s built-in transfer, the process normally happens during Android setup.
View Apple’s official iPhone-to-Android eSIM transfer instructions
The point at which service changes is important: once you select the number and complete the eSIM transfer, that number is no longer expected to work on the iPhone. Test the Android phone immediately by making a call, sending a text, and loading a webpage with Wi-Fi turned off.
Canadian support is not uniform. A carrier may support eSIM activation on Android without supporting Apple’s universal iPhone-to-Android transfer screen.
| Carrier or route | What the current documentation indicates | Practical approach |
|---|---|---|
| Lucky Mobile | Documents iPhone-to-Android service transfer using a Google Pixel, with the transfer started from the Pixel’s SIM settings. | Use the Pixel transfer flow if eligible; otherwise use My Account to move the service to a new eSIM. |
| Koodo | Supports switching from Apple to Android through Self Serve, including eSIM swaps. | Use Self Serve to issue or move the eSIM, and keep the old eSIM active until verification is complete. |
| Bell | Documents several eSIM and device-change methods, but its published cross-platform transfer instructions currently focus on Android-to-iPhone and selected Android-device routes. | Use Bell’s eSIM change process rather than assuming Apple’s generic transfer will work. |
| Rogers | Offers eSIM setup through the MyRogers app, website, or an eSIM voucher. | Activate the replacement eSIM through Rogers’ supported account method. |
| TELUS and other carriers | eSIM availability and cross-platform transfer support can depend on the device and account. | Use the carrier’s current activation or SIM-replacement process before erasing the iPhone. |
The most clearly documented Canadian iPhone-to-Android route currently comes from Lucky Mobile for compatible Google Pixel phones. Koodo also provides a carrier-account route for switching between Apple and Android. For other carriers, a replacement eSIM or carrier-assisted activation may be more reliable than phone-to-phone transfer.
Set up or switch to a Rogers eSIM
Transfer your Lucky Mobile service
View Google Pixel SIM transfer instructions
A QR-code failure does not necessarily mean the eSIM transfer is impossible. First, make sure the QR code belongs to the active setup session and is displayed clearly on the Android screen. Increase screen brightness, remove glare, clean the iPhone camera lens, and keep the phones close together.
Apple’s transfer process also provides a manual pairing option:
If the Android phone does not show a session ID, pairing code, or transfer option, that usually points to a compatibility or carrier-support issue rather than a camera problem. In that case, stop retrying the same QR code and use the carrier’s eSIM replacement process.
For a carrier-issued QR code, remember that many codes are one-time activation codes. A code that was already scanned, partially activated, or generated for a different device may not work again. Request a fresh eSIM through the carrier instead of repeatedly scanning an old code.
The old iPhone may continue to show the eSIM until the transfer is confirmed, but it should not be treated as a backup once the number has been moved. The number normally becomes inactive on the iPhone when the new eSIM is successfully activated.
Do not factory-reset, trade in, or erase the iPhone until you have completed these checks on Android:
If the new phone has no service but the iPhone still works, the transfer may not have completed. If neither phone works, contact the carrier from another phone or through its online support channel and ask for an eSIM reissue or device swap. Have the Android phone’s IMEI and EID ready; these identifiers are commonly required for eSIM activation.
Use the built-in transfer only when the Android phone displays the option and your carrier’s documentation confirms support. If you are using a Google Pixel with a carrier that explicitly supports iPhone-to-Android transfer, follow that device-specific route.
For everyone else, the dependable fallback is a carrier eSIM swap: keep the old iPhone active, request or generate an eSIM for the Android phone, install it over Wi-Fi, and test service before wiping the iPhone. This may take a few extra minutes, but it avoids getting trapped by a QR code that was never supported for your Canadian line.
A. Usually, the number remains active on the iPhone until the transfer is confirmed. After the eSIM move completes, the number should stop working on the iPhone. Keep the old phone available until the Android phone passes call, text, and mobile-data tests.
A. Possibly, but it depends on the carrier and Samsung model. Apple’s built-in iPhone-to-Android process is not automatically supported by every Canadian carrier or Android device. If the Galaxy setup does not offer a supported transfer, use your carrier’s eSIM replacement or device-swap process.
A. No. Leave it active until the new Android phone is activated and tested. Deleting it early can prevent verification texts from arriving and may require the carrier to issue a replacement eSIM.
A. Expect to provide the Android phone’s IMEI or EID, your account details, and sometimes a verification code sent to the old phone. The exact requirements vary by carrier.